
How to Debug Evicted Kubernetes Pods
Diagnose Kubernetes pod eviction by identifying memory, disk, inode, PID, taint, and node-pressure causes before replacing workloads.
An Evicted pod was terminated by Kubernetes because a node or policy could no longer keep it running. Creating a replacement may restore capacity briefly, but the eviction record usually points to memory, ephemeral storage, inodes, PIDs, taints, or another node-level constraint that still needs attention.
Read the eviction reason
Inspect the terminated pod before deleting it:
kubectl get pod POD -n NAMESPACE -o wide
kubectl describe pod POD -n NAMESPACE
kubectl get pod POD -n NAMESPACE -o jsonpath='{.status.reason}{"\n"}{.status.message}{"\n"}'
The status message may name the pressure signal, threshold, and container usage. Preserve this evidence because deleting the pod removes the easiest record of why it was evicted.
List recent evictions:
kubectl get pods -A --field-selector=status.phase=Failed
kubectl get events -A --sort-by=.lastTimestamp
Not every failed pod is an eviction, so verify .status.reason.
Inspect the affected node
kubectl describe node NODE
kubectl get node NODE -o jsonpath='{.status.conditions}'
kubectl top node NODE
Look for these conditions:
MemoryPressureDiskPressurePIDPressureReadybecoming false or unknown
Events can show when the kubelet crossed an eviction threshold and which resource it attempted to reclaim.
Diagnose memory pressure
Compare pod usage and resource configuration:
kubectl top pods -A --sort-by=memory
kubectl get pod POD -n NAMESPACE -o yaml
Node-pressure eviction is different from a container being OOMKilled. An eviction considers node availability and pod priority or QoS, while an OOM kill occurs when a memory limit or the kernel’s memory pressure terminates a process.
Check requests, limits, QoS class, priority, and whether application usage grows unexpectedly. Avoid solving persistent memory growth only by increasing requests.
Diagnose disk and inode pressure
On the affected node through an approved access path:
df -h
df -ih
sudo du -xhd1 /var/lib/kubelet /var/lib/containerd 2>/dev/null
Review:
- container writable-layer and log growth
emptyDirusage- unused images
- orphaned runtime data
- filesystem capacity and inode exhaustion
Do not manually delete files beneath kubelet or container-runtime directories. Use supported garbage collection and cleanup procedures after identifying ownership.
Check ephemeral-storage requests and limits
kubectl get pod POD -n NAMESPACE -o yaml
kubectl describe node NODE
Containers can request and limit ephemeral-storage. A pod may be evicted when its writable layers, logs, and local ephemeral volumes exceed its allowance, or when the node itself runs short of local storage.
Make log rotation, bounded temporary storage, and appropriate requests part of the permanent fix.
Check placement and disruption signals
Review priority, tolerations, node taints, and recent node changes:
kubectl get pod POD -n NAMESPACE -o jsonpath='{.spec.priorityClassName}{"\n"}'
kubectl get node NODE -o jsonpath='{.spec.taints}{"\n"}'
Some evictions result from taints, maintenance, autoscaler decisions, or kubelet behavior rather than resource pressure. Correlate the pod event with node and cluster-controller events.
Diagnose it with Rumus
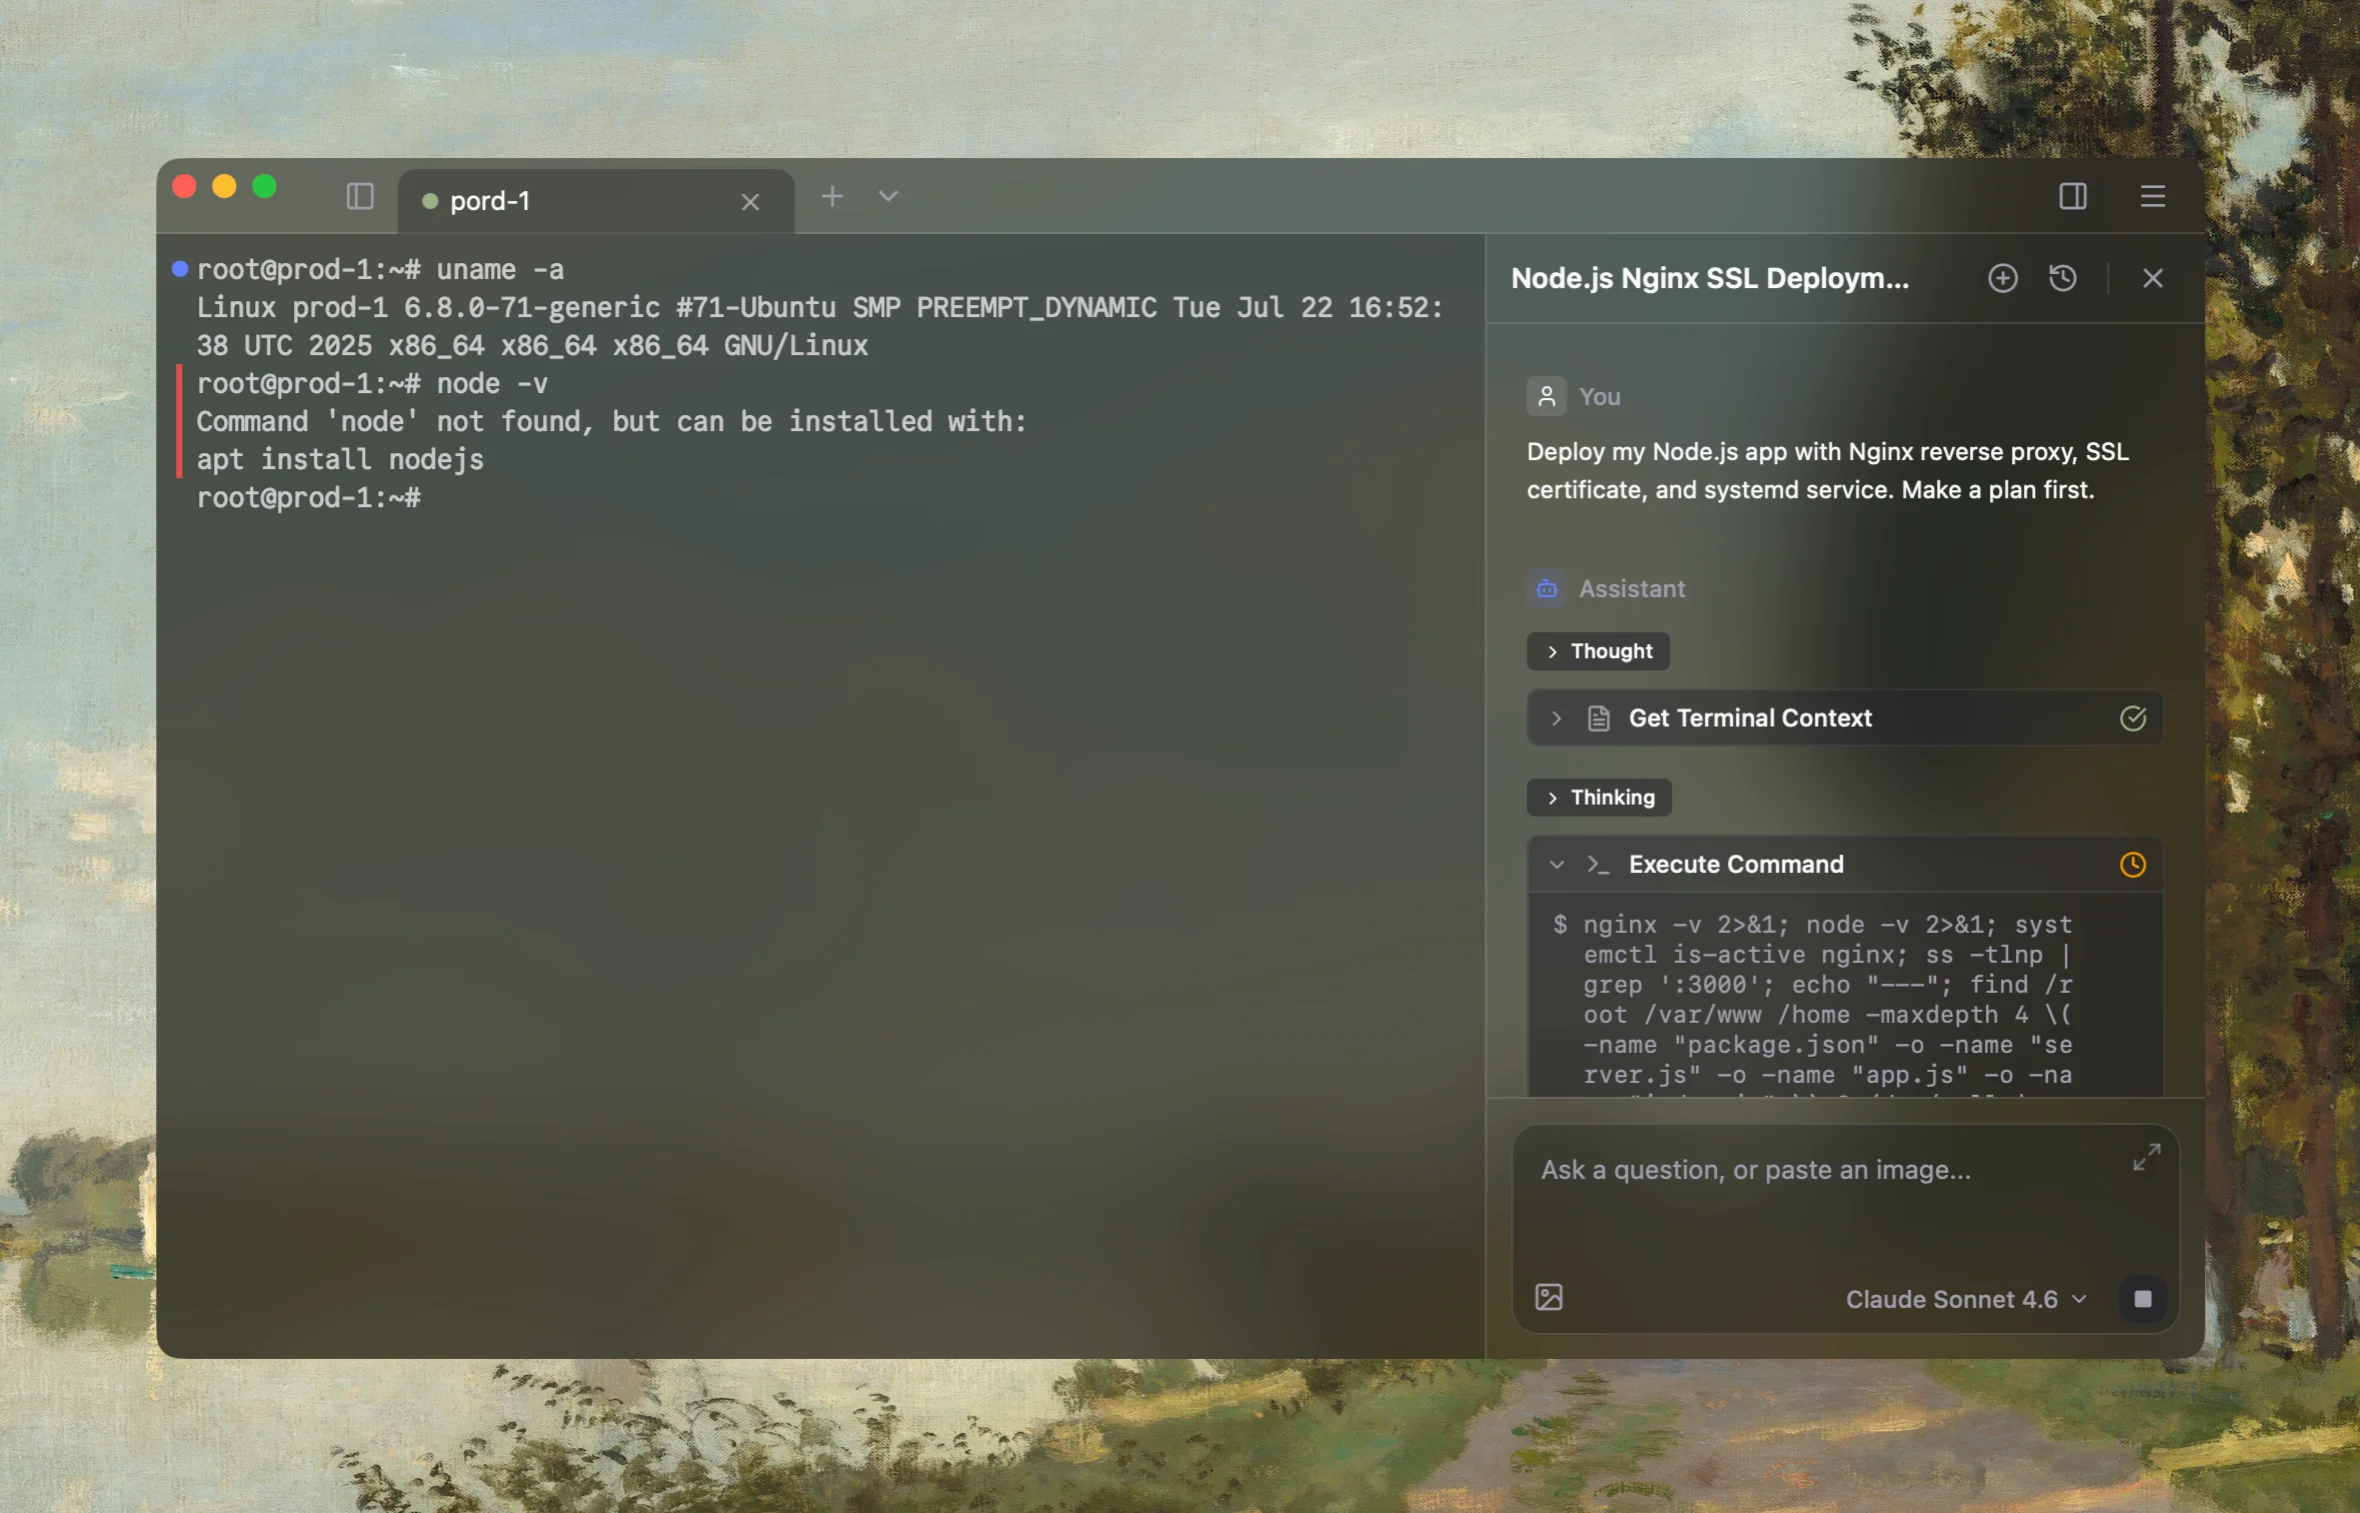
Rumus is an AI-native terminal that can use your current Kubernetes context to correlate pods, events, logs, controllers, resources, and nodes. It keeps the investigation read-only until you approve a proposed change.
What Rumus can inspect
- Pods, events, previous logs, and owning controllers
- Resources, probes, scheduling rules, and node state
- Secret-aware output and approval before cluster changes
Diagnose why this Kubernetes pod was evicted. Preserve and inspect its status
message and events; identify the node and check memory, disk, inode and PID
pressure, pod usage, requests, limits, QoS and priority, ephemeral storage,
taints, and recent node changes. Start read-only and do not delete pods,
drain nodes, clean runtime data, or change resources without approval.
Confirm the fix
After the approved capacity, cleanup, scheduling, or workload change:
kubectl get nodes
kubectl describe node NODE
kubectl get pods -n NAMESPACE -o wide
kubectl get events -n NAMESPACE --sort-by=.lastTimestamp
Confirm node pressure conditions clear, replacement pods remain stable through normal peak load, storage or memory keeps adequate headroom, and no new eviction events appear.
Open the server in Rumus and let the AI agent inspect context, propose a plan, and ask before it runs changes.